How to Turn Your Favorite Photo into a 3D Figurine
Learn how to turn a favorite photo into a custom 3D figurine with better face photos, outfit references, pose notes, props, and review tips.
Published
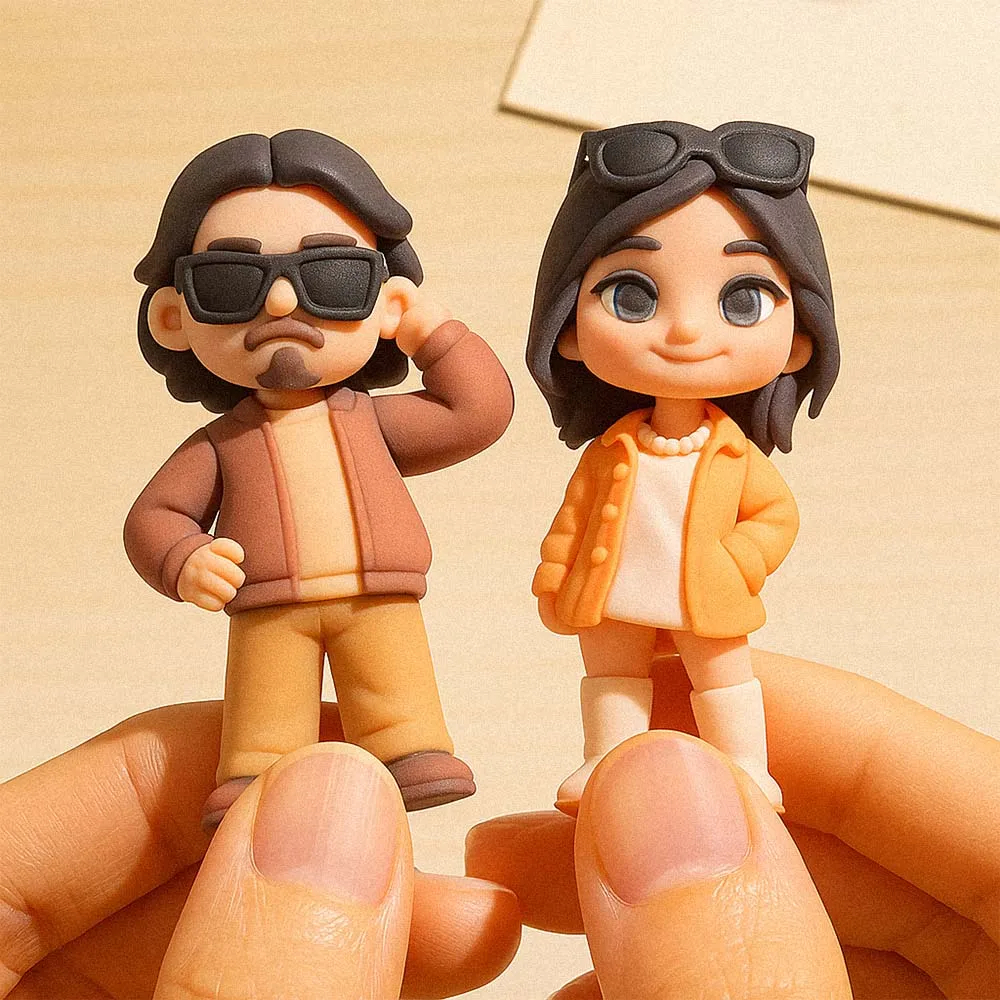
Turning a favorite photo into a 3D figurine is not just uploading one image and hoping the details are obvious. The best results come from choosing a strong likeness photo, adding supporting references, and explaining the figure style you want.
If you want to start from a photo, use the custom 3D figure from photo page and prepare your references before ordering.
Pick the Main Likeness Photo
Choose a sharp front-facing photo where the face is clear. Avoid heavy filters, deep shadows, sunglasses, masks, and extreme angles. If the favorite photo has emotional value but poor detail, use it as mood reference and add a clearer face photo.
Add Outfit and Pose References
A single close-up rarely shows the full figure. Add a body or outfit reference, then include a pose example if you want the figurine standing, holding an item, sitting, dancing, or celebrating.
Explain What Should Stay Accurate
Some customers care most about facial likeness. Others care about the outfit, pet, hobby item, or exact event. Say which details are most important so the modeling direction is clear.
Choose a Practical Display Style
Think about where the figurine will live. A desk display can use a stable standing pose. A wedding topper needs a cake-safe base. A gift for a shelf can include more personality and props.
Before submitting, compare your references with the best photo guide and the photo submission checklist.
FAQ
Can one photo be enough?
Sometimes, but two to four references usually create a clearer brief.
Can I use an old family photo?
Yes, if the face is clear enough. Add extra references for outfit, pose, or body shape when available.
What if I want a different pose than the photo?
Send the favorite photo for likeness and a separate pose example for the body position.